The process of building a server rack can be more complicated than you might expect. So before you get started, make sure you’ve taken advice from the experts to ensure that your server rack functions as well as it possibly can.
Take a look at our best practice guide and you’ll soon know all there is to know about how to build and install server cabinets. We’ll also let you in on a few common pitfalls, so you know what to avoid. Here’s everything you need to know.
Think about the weight of your cabinets
The weight of your server cabinets is something you’ll want to think about before you start. If a rack becomes too top heavy, you run the risk of the entire thing toppling over or collapsing. Position your heaviest equipment at the bottom to avoid problems in the future.
Consider your server rack holes
You’ll likely be using racks with square holes, which require cage nuts. These are really useful because they offer great flexibility, so you can take them out and replace them as and when required. However, some racks come with threaded holes. If your rack has these, you may need to think about how to strip the threads of the server rack holes before you start.
Know your dimensions
Server racks and rails come in a range of standard dimensions, so you’ll need to know what these are going to be before you begin your build. Make sure you’ve got a rack that’s a good size for the job you have in mind, and that all your current (and future) equipment is easily accommodated. We use universal rail systems in all our cabinets so they can accommodate any equipment necessary.
Don’t overlook cable management
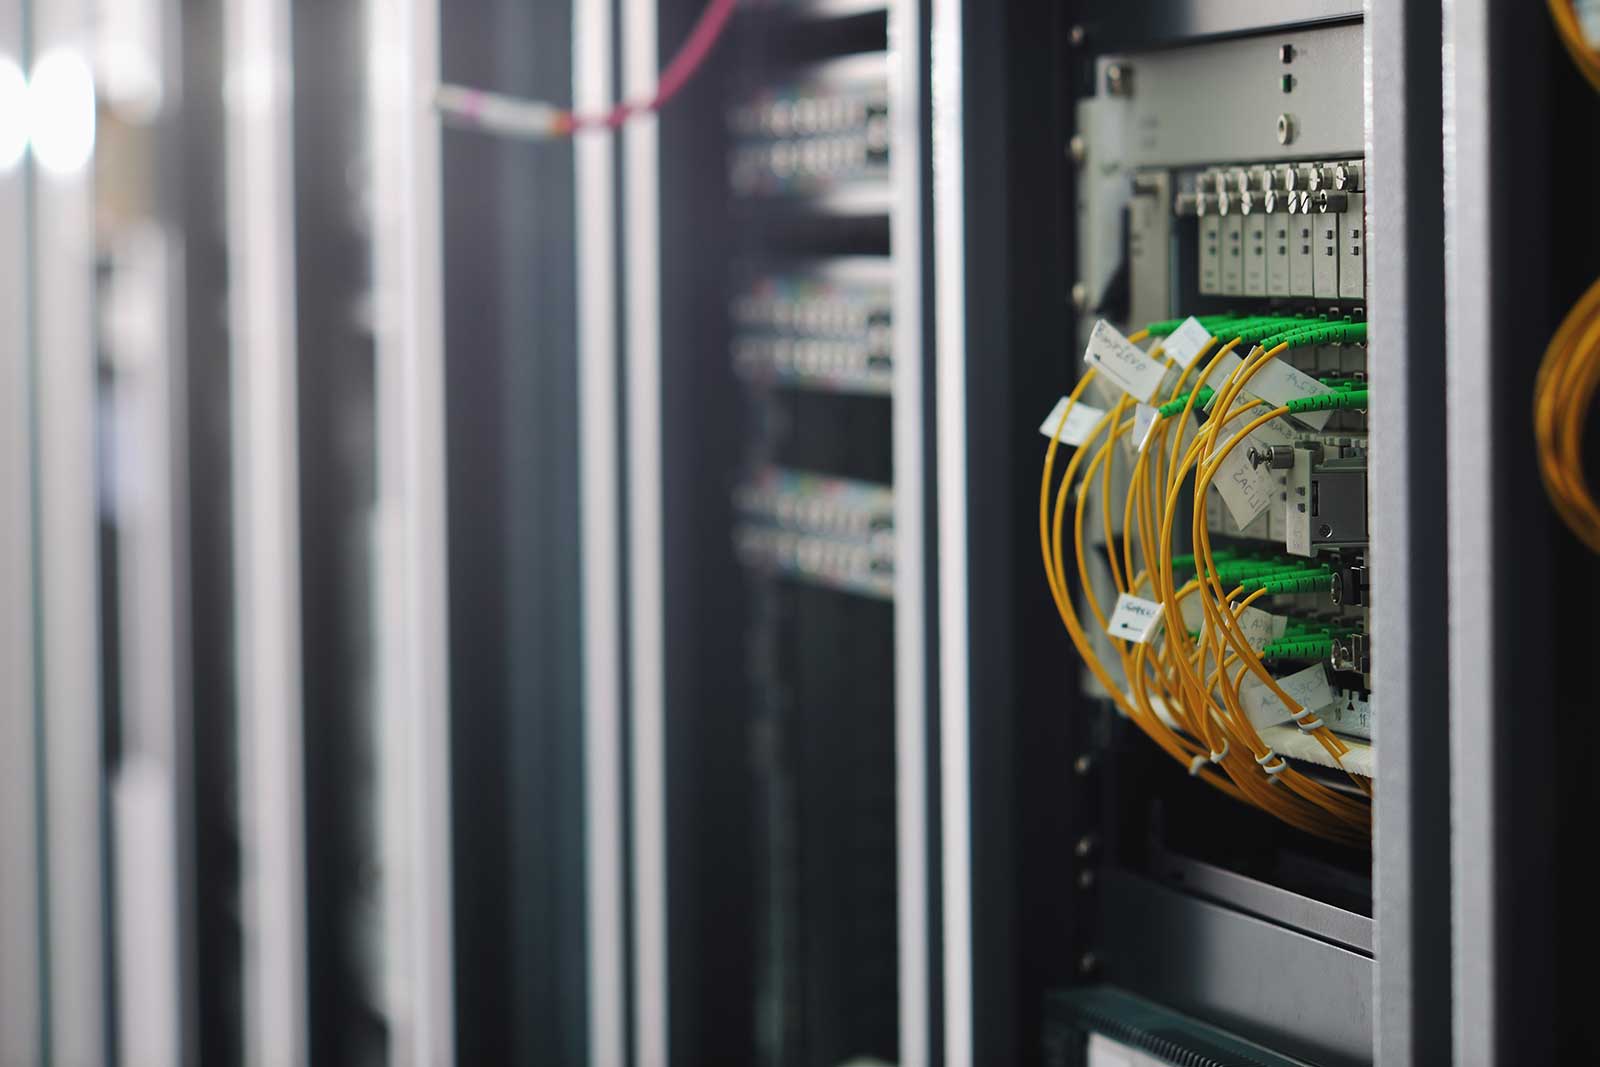
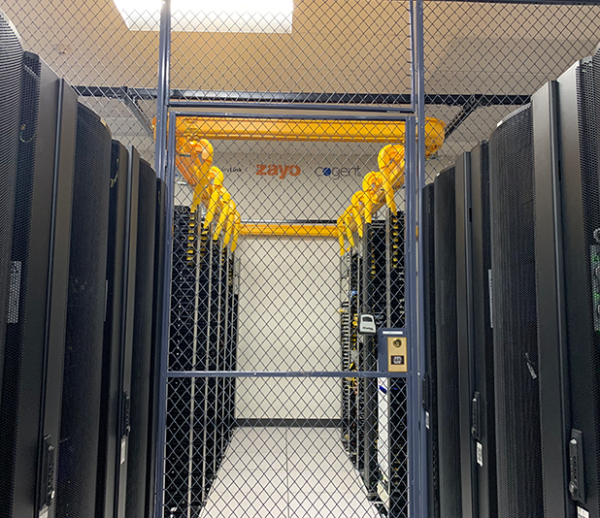
Organisation is key in any job, but it’s especially important when you’re building a server cabinet. Cable management accessories are vital if you’re going to avoid the pitfalls of a messy cabinet. Where possible, extra cable length should be kept to a minimum to reduce clutter. We suggest velcro to bundle cables together, instead of traditional zip ties as these can damage wires.
Cable Labeling
Server racks will be filled with cables running to and from various routers, servers, switches and various other critical equipment. Cable labeling and tagging ensures each one can be correctly identified – a massive time saver when it comes to troubleshooting any problems.
Think about your power source
Power is vital in any server build, so don’t forget about power outlets when you start planning the process. Make sure you have enough power for all the equipment you need, and think about how you might increase the power supply if you were to need more in the future. By planning ahead, you’ll be able to avoid potentially costly mistakes later – and limit the use of messy extension cables.
PDUs
A power distribution unit helps to ensure a steady supply of electricity to your server rack. It is therefore essential that any PDU installed is a) compatible with your power specifications and b) is reliable. A PDU with 3-phase power input and 1-phase power output is the most common spec utilized within data centers, but this can vary depending on your set up requirements. When using power cables think about investing in power cable sleeve inserts. We use ones that require 30lbs of force to remove, a much needed safety feature to prevent accidentally unplugging equipment.
Look Ahead
When installing a server cabinet, it’s important for it to meet all current requirements. However, it’s also important to look ahead towards future growth. To save time and cut costs down the line, a winning strategy is to plan an installation that meets all of your current needs but is also scalable to accommodate further expansion.
—
Ensuring server racks and cabinets are correctly built and installed is crucial. Once installed, it can be challenging if you decide to relocate the set-up. If you’d rather skip the hassle of migrations and rack and stack, TRG offers fully managed data center solutions. No long shopping lists or assembly required. You send us the hardware or we come pick it up and we rack and stack it for you. Contact our team for more information.
